Want to start some seeds for your garden? There is no need to buy a seed starter from a store. You can make one at home using supplies that are typically found around the house! My method ensures that you will create a Mini Portable Greenhouse Seed Starter that is cheap to make and super portable!

Whether you are an avid gardener or just starting out, you will most likely need to start your seeds indoors before moving the plants outside. Many nurseries and hardware stores have ready-made seed starters for sale, but they tend to be flimsy and not well made. I will show you how to make your own Mini Portable Greenhouse Seed Starter using items you probably have laying around your house. It will be sturdy and economical!
I have been gardening for years. (It is the best way to ensure fresh produce for cooking). Every year I would start my seeds 6-8 weeks* before the last frost. When I first started out gardening I bought ready-made seed starters. Unfortunately, I did not love the thin plastic lids they came with, I could not reuse the plastic seed cups when the season ended due to their flimsiness, and the biodegradable seed starter cups were always really pricey. Eventually I resorted to the egg carton method of seed starting. This very popular method of seed starting was inexpensive and the paper pulp egg cartons were biodegradable. Instead of recycling the egg cartons when they were empty, I saved them for seeds. I added soil and seeds to the egg cartons, which was easy enough.
This method worked for a while. Then I found myself always watering the seeds, because the sun would evaporate a lot of the water. A colleague of mine showed me that if I put a clear plastic container over the egg cartons, it could create a mock greenhouse that recycled the water within the container and constantly watered the seedlings. Thus reducing the effort for the gardener.
Then I ran into the problem of hardening the plants. The egg cartons would become moist from greenhouse watering, and moving them from place to place to harden them outside in the sun became a challenge. Suddenly, I figured out that if I used a container with a fitted lid the greenhouse could be portable! I would flip the container upside down so the lid would become the bottom tray. Then I would place my egg carton filled with soil and seeds inside. I would water the seeds, close the container, and let the Water Cycle do the rest! What came of it was a successful seed starter that did not cost very much and was easy to transport from place to place.
Follow the steps below to create your own Mini Portable Greenhouse Seed Starter!

- Find an Egg Carton: You will need an empty egg carton made of paper pulp, not Styrofoam. The paper pulp egg carton is important because it is biodegradable! The cups of the egg carton will be the seed starter pods. When you are finished eating your eggs, remember to save the egg cartons for seeds!
2. Find a Clear Plastic Container with a Lid: These clear plastic containers are typically used around the house for storage. This will act as the greenhouse. If you do not have one around the house they are very inexpensive. I have found them at hardware stores and dollar stores. Make sure the container is a clear plastic so the light can come through. It does not matter what color the lid is. The size of the container will determine how many egg cartons it can hold. A six quart container can hold two standard sized egg cartons (dozen egg carton) or 1 large sized egg carton (eighteen egg carton).
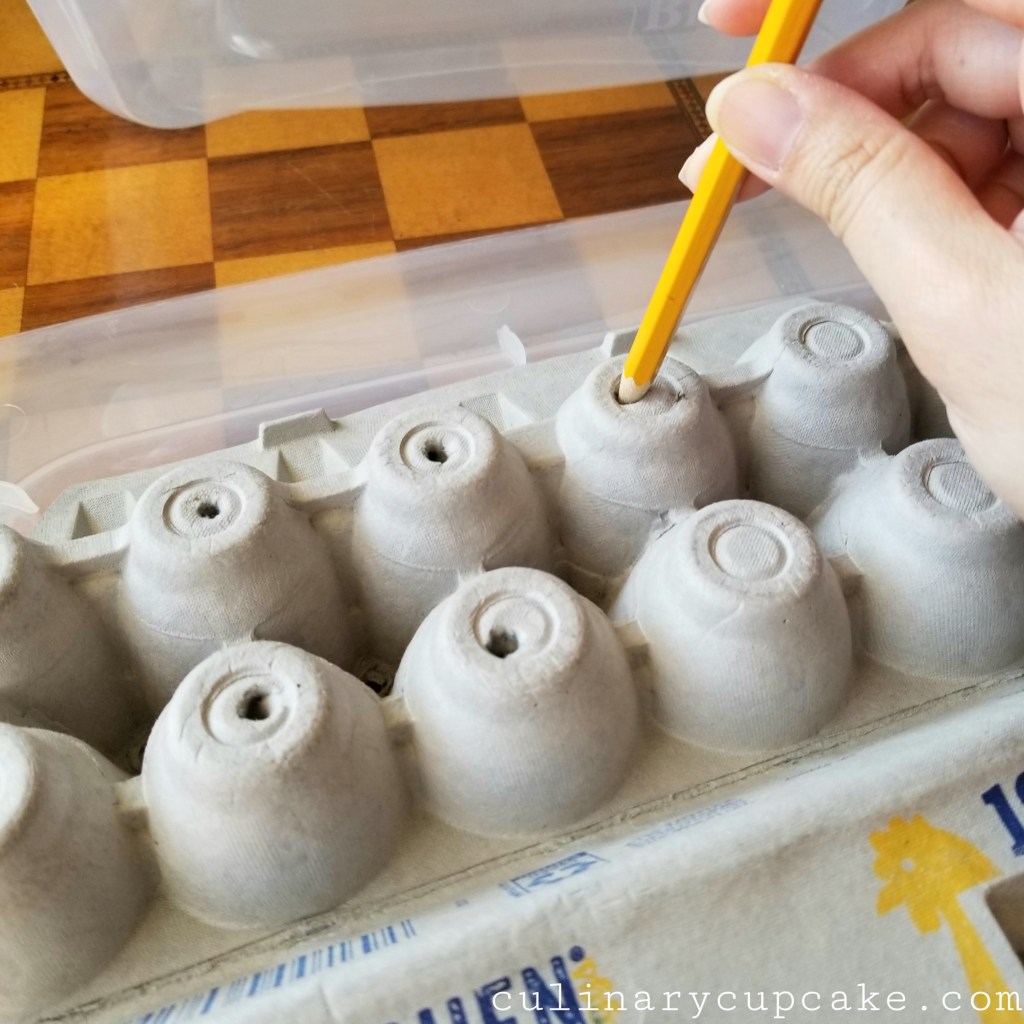
3. Poke Holes into Egg Carton: Flip the egg carton upside down. Using a pencil or pen, gently poke a hole in each egg cup. This is important because it will create a drainage hole so the seeds will not become oversaturated.
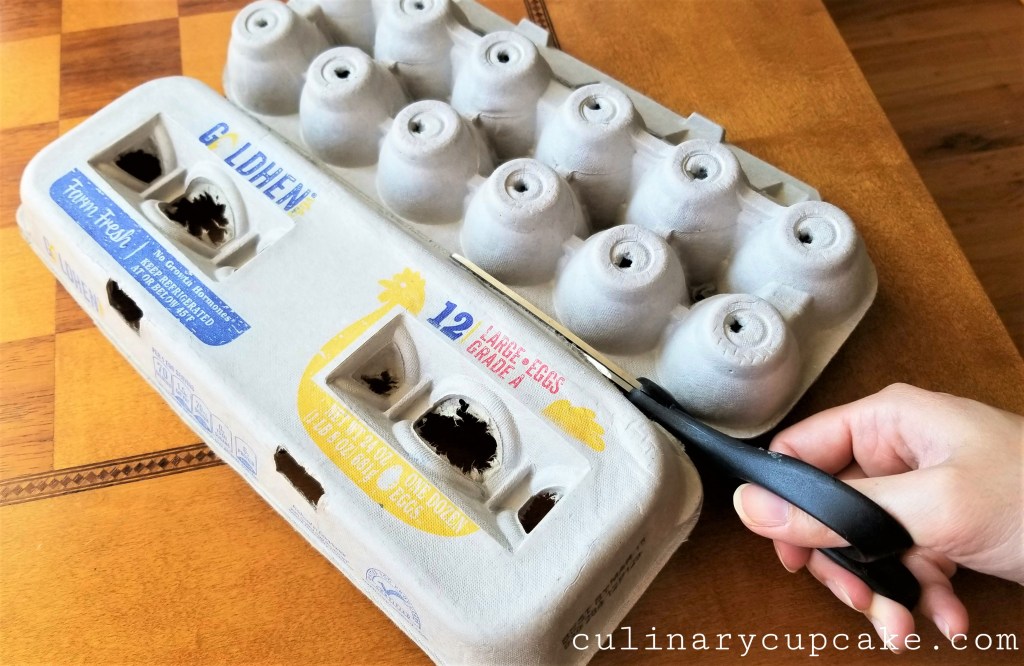
4. Cut the Egg Carton: Using sharp scissors cut the egg carton in half on the “hinge”. You should have two halves.
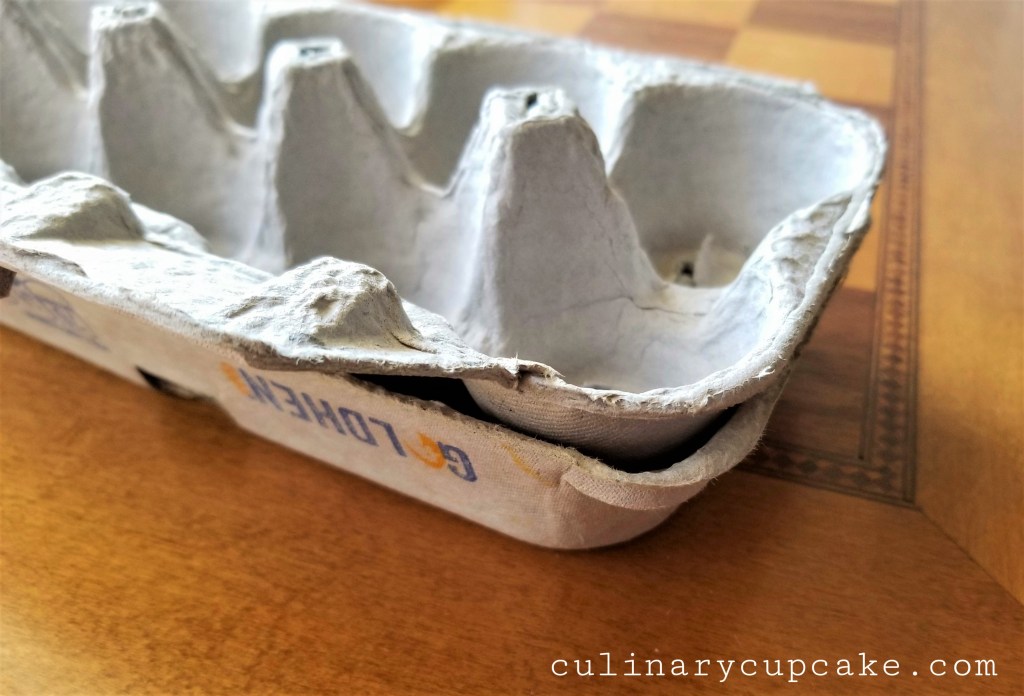
5. Stack the Egg Carton halves: Place the half of the egg carton that held the eggs on top of the half that was previously the lid. The part of the egg carton with the crevices will be for seeds, while the other half of the egg carton will act as a tray that collects the drainage water.
If you are using different types of seeds in one egg carton use this step to also get a marker and label the outer tray with which seeds are going into which crevice.
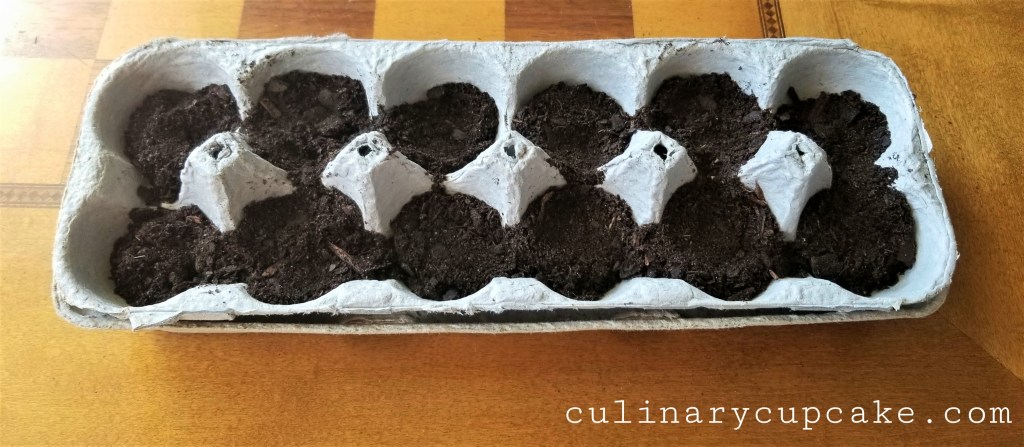
6. Fill the tray with Soil: Carefully fill each crevice with regular potting soil. Make sure not to overflow the cups, you will need room for seeds, water, and more soil.
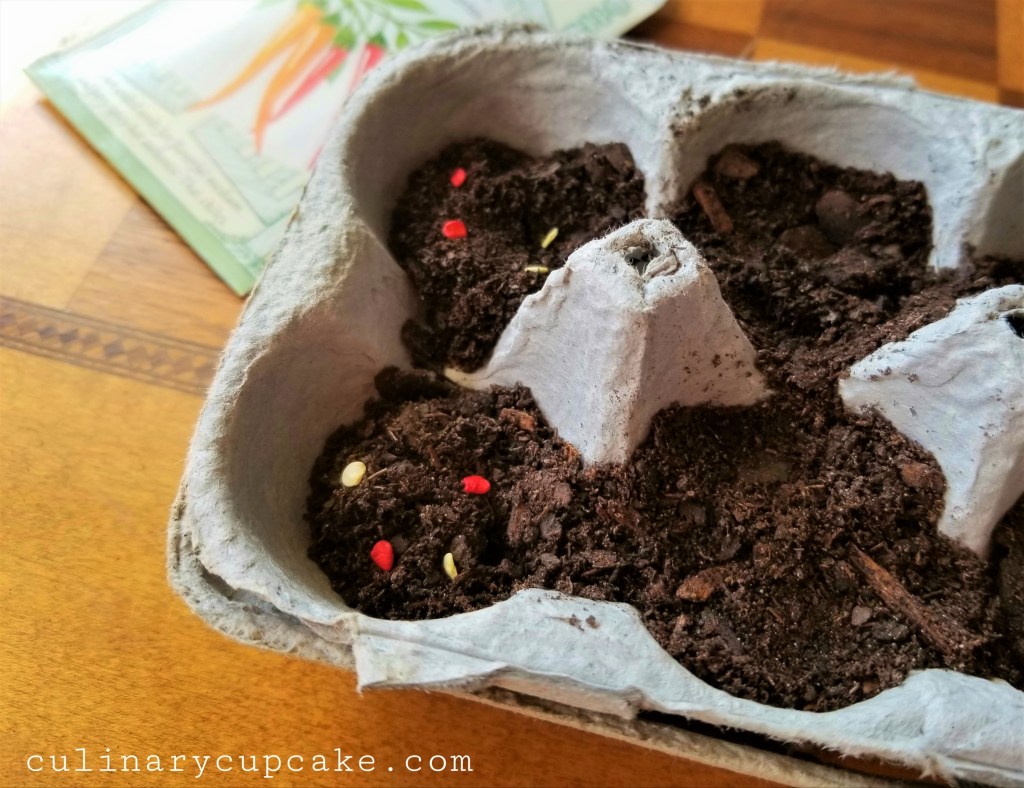
7. Sprinkle Seeds onto the Soil: Place seeds of your choice into the soil. Gently cover with more soil according to seed packet directions. (1/4 inch – 1 inch of soil depending on the type of seed.)
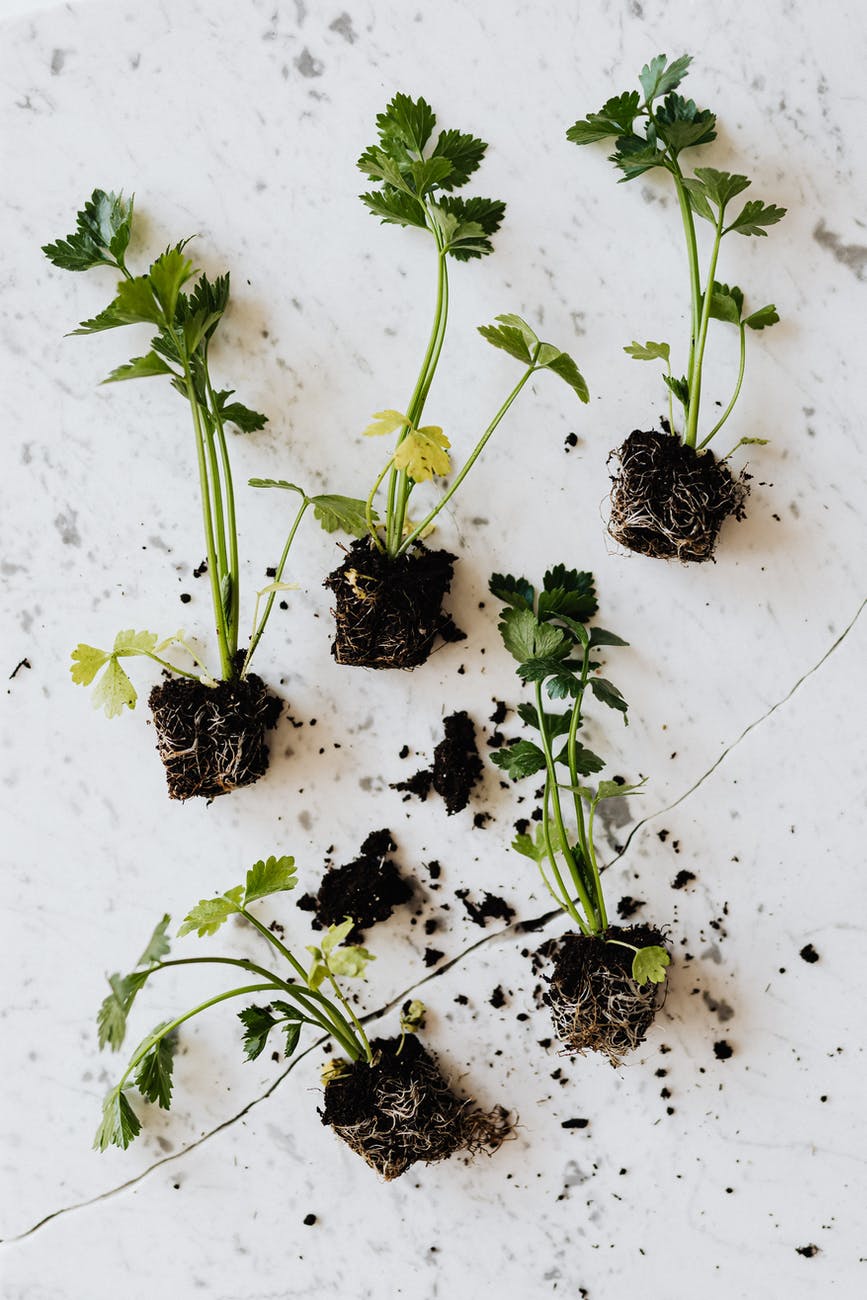
If you are a beginner gardener I suggest starting seeds that are not too fussy. Herbs like parsley, dill, thyme, and basil are great for beginners. Vegetables like summer squash (zucchini), radish, bell peppers, and peas are also very easy to grow.

8. Place Egg Carton on Container Lid: The lid of the container will be the tray to hold the egg carton seed starters. During this step please water the seeds until moist.

9. Place Container over Egg Carton: Snap the lid to the container, to ensure it seals. The body of the container will act as a greenhouse for the egg carton.
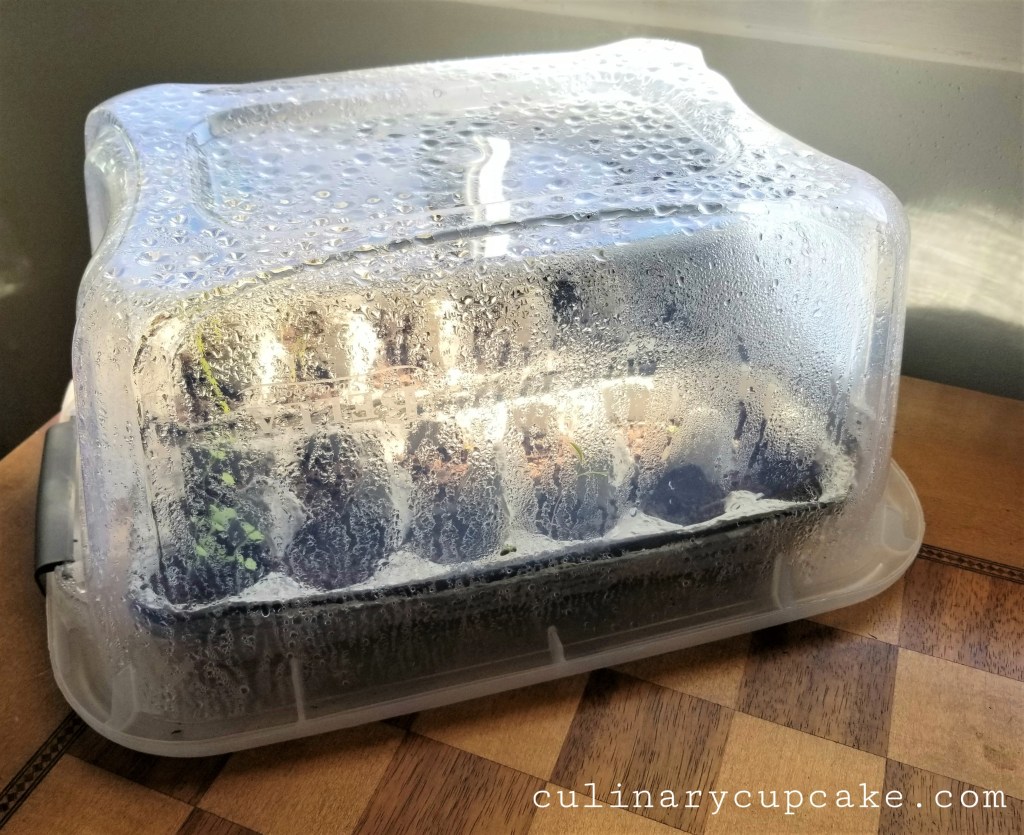
10. Put the Container in a Sunny Location: The sun will cause the water to evaporate and condense, but the clear container will keep most of the water contained. Every day the water will “rain” onto the seeds and be recycled. Open the container carefully and moisten with water seeds as needed.
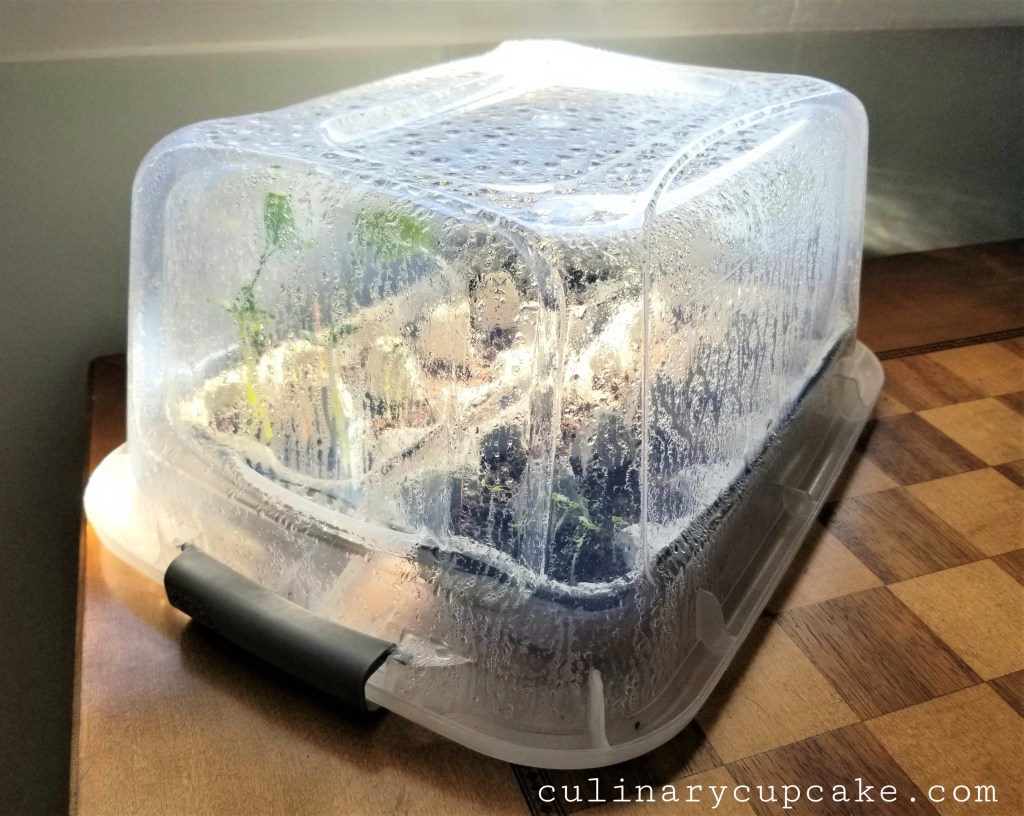
11. The Seeds will Grow and must be Hardened: After a few weeks the seedlings will become larger and need to be hardened to the outdoors. Your seed packet will have directions on what the proper temperature is for the seedlings to be outside. (Usually, 65-75 Fahrenheit depending on what you are growing). If the seed packet does not have specific temperatures listed, then harden outside two weeks after you are sure the danger of frost has past.
When your area has become warm enough, the seedlings will need to spend some time outdoors. Every day for a week place the mini greenhouse outside in a sunny location for 6-8 hours, then bring the seedlings inside at night. This process will “harden” or ready the seedlings for outdoor life.
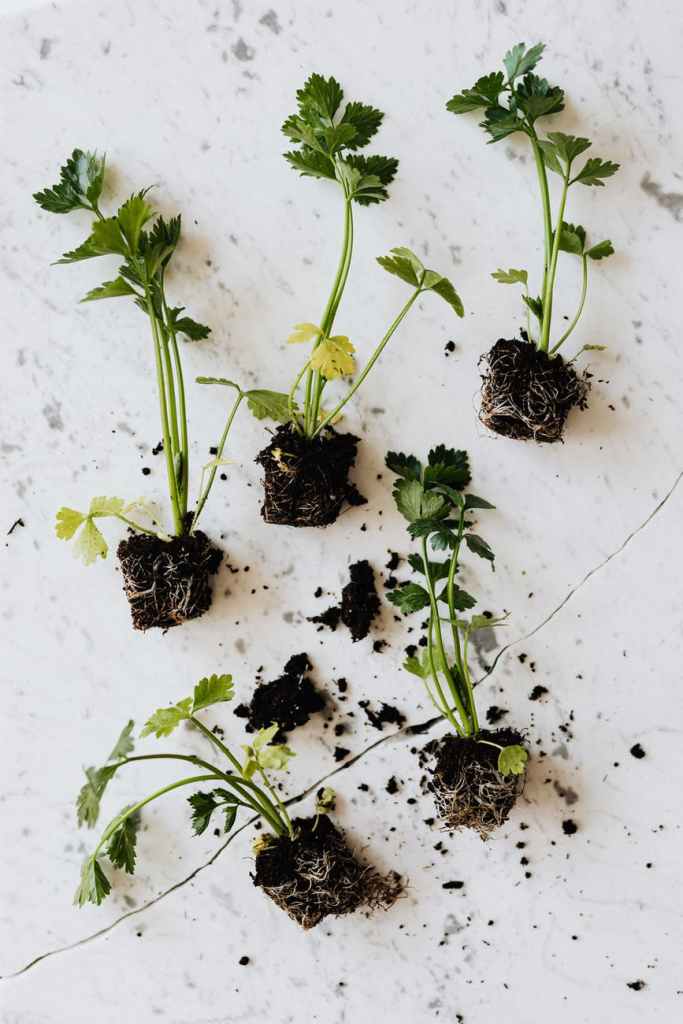
12. Transfer Seedlings: After hardening, when the seedlings are the appropriate size according to seed packet instructions, it will be time for permanent transfer. Cut the egg carton cups into individual seed pods or take out the seedlings with some dirt attached. Transfer the seed pods to their designated locations in your garden.

Soon you will have lovely plants populate your garden! Growing your own food is very satisfying! Whether you are growing herbs, fruits, or vegetables remember to look for recipes using the Recipe Index!
*It is important to sow seeds indoors for about 6-12 weeks before the last frost date in your area, depending on what kinds of seeds you are using.
No outdoor space for a garden? You can always create a Jar Herb Garden for your indoor space!
DID YOU GROW THIS?
Tag @culinary_cupcake when you upload your photo on Instagram and hashtag #culinary_cupcake

One thought on “How to Make a Mini Portable Greenhouse Seed Starter”